
You’ve spent weeks meticulously calculating trace impedances. You’ve sweated over the thermal relief of your ground planes and spent thousands of dollars on a four-layer prototype run with an elite fabrication house. The PCB arrives, and it is a work of art, clinical, precise, and electrically sound. You upload your firmware, the logic is flawless, and the system initializes with a satisfying hum of activity.
Then, the heartbeat stops.ESP32 stack overflow crashing
BAM. The dreaded random reboot.
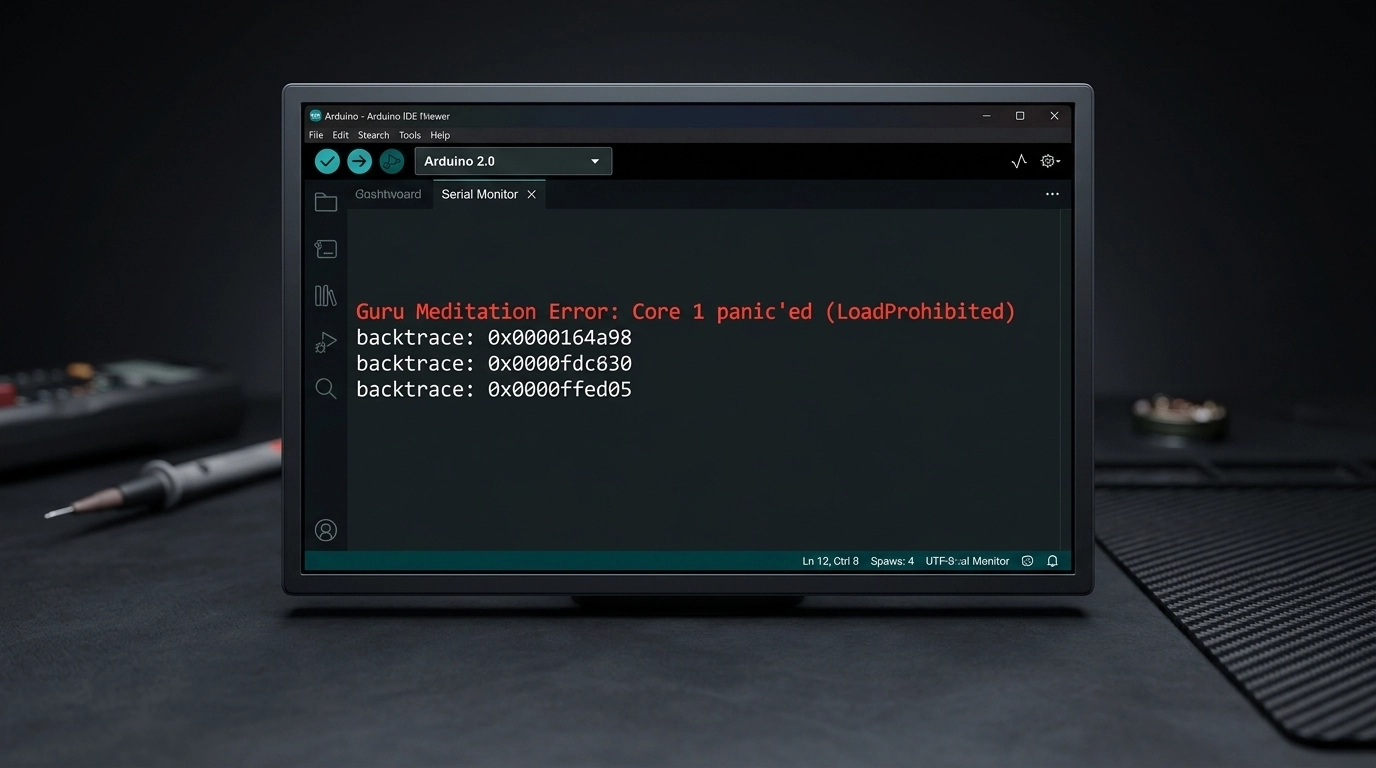
Your ESP32, the supposed brain of your mission-critical device, suddenly resets. No smoke. No heat. Just a silent, catastrophic failure in the middle of a routine operation. You check the power rails; they’re rock steady. You check the signal integrity on the SPI bus; it’s clean. The heartburn sets in. You open the serial monitor, and there it is: the infamous Guru Meditation Error: Core panic'ed or the insidious Stack canary watchpoint triggered.
In 90% of cases, your hardware isn't failing. Your power supply isn't weak. Instead, there is a silent killer lurking within your FreeRTOS configuration. Your high-performance 32-bit controller is being strangled by one default number that evaporates your memory before you even call your first function: 2048.
The Physics: RAM, Stack, and the 32-bit Reality (ESP32 stack overflow crashing)
To understand why your board is failing, we have to look at the metallurgical and physical reality of how a microcontroller manages its internal SRAM. When you transition from a simple 8-bit architecture (like the legacy Arduino Uno) to a sophisticated 32-bit dual-core beast like the ESP32, the rules of memory management undergo a fundamental, and often violent, shift.
In the world of embedded systems, "The Stack" is a dedicated region of RAM where a processor stores local variables, return addresses, and function parameters. It is a "Last-In, First-Out" (LIFO) structure that grows and shrinks as your code executes.
The problem? In a 32-bit environment, everything is "heavier." An integer that took 2 bytes on an AVR now takes 4. A memory address (pointer) that took 2 bytes now takes 4. Every function call you make pushes more data onto the stack than it ever did in the 8-bit era. When your stack exceeds its pre-allocated boundaries, it doesn't just stop; it crashes into other memory regions, corrupting data and triggering a monolithic system panic.
The Mechanics of the 2048-Byte Trap
When you write code for the ESP32 using the Arduino core or the ESP-IDF, you are almost always running on top of FreeRTOS. In this environment, every "task" (your main loop, your WiFi handler, your sensor reader) is assigned a specific chunk of memory at birth.
The default stack size for a new task is usually set to 2048 bytes.
For a developer coming from a background of 2KB total RAM, this sounds like an ocean of space. But in the context of modern pcb design services and complex IoT integration, 2KB is a puddle that evaporates under the slightest heat.
The Math of a Crash: A Consumption Breakdown
Let’s look at how quickly that 2048-byte stack is eaten alive in a real-world engineering scenario:
sprintf(): This standard C formatting function is a notorious metallurgical weight on your memory. Because it supports everything from floating-point math to complex padding, calling
sprintf()just once can instantly consume around 1.2KB of your stack.WiFi & BLE Callbacks: Handling a network request isn't just about bits on a wire. The underlying stack needs to handle encryption, buffers, and protocol overhead. Throwing a simple network callback onto the stack? There goes another 400 to 600 bytes.
JSON Parsing: If you are using libraries like ArduinoJson to handle API responses, you are playing with fire. Parsing a mid-sized JSON object requires building a document tree. A single 1KB JSON payload can easily chew up 800 bytes of stack space during the parsing phase.
The Math: 1200 (sprintf) + 500 (WiFi) + 800 (JSON) = 2500 bytes.
Your 2048-byte limit has been breached. The "canary", a special bit of data at the end of the stack designed to detect overflows, is dead. The system triggers a watchpoint, and your ESP32 reboots. The tombstone is set, and the board has failed.
The Word vs. Byte Confusion
There is a massive trap here that catches even seasoned electrical engineers. In standard, "vanilla" FreeRTOS, the stack size parameter in xTaskCreate is measured in Words (4 bytes each on a 32-bit system). However, in the ESP-IDF and the ESP32 Arduino Core, that same parameter is measured in Bytes.
If you read a generic FreeRTOS tutorial that suggests a stack of "512," they mean 2048 bytes. If you enter "512" into an ESP32 task creation function, you have just allocated a microscopic 512 bytes. Your system will crash before it even finishes the setup routine.
The Professional Fix: A 3-Step Debugging Workflow
Stop guessing. Stop "praying" that your code won't reboot during a client demo. As a professional pcb design consultant, I advocate for a clinical, measurement-based approach to firmware stability. Here is how you fix the 2048-byte trap permanently.
Step 1: Over-Allocate to Stop the Bleeding
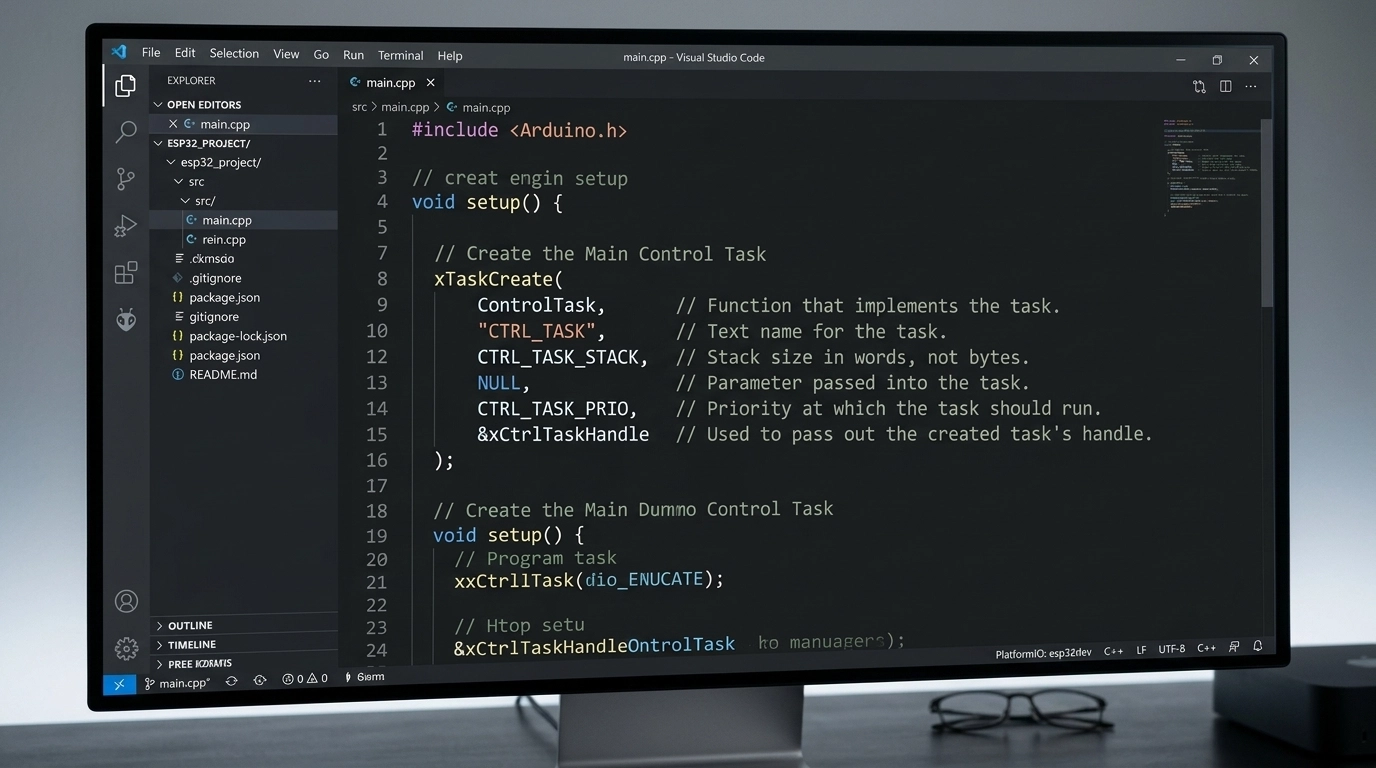
First, you must stop the random reboots so you can actually observe the system. Find where your tasks are created, usually xTaskCreate or xTaskCreatePinnedToCore.
The Wrong Way:
// This is the default trap.
xTaskCreate(myTask, "Task1", 2048, NULL, 1, NULL);
The Right Way: Immediately double or quadruple the stack size. If you are doing heavy JSON, HTTPS, or display work, start with 8192.
// Doubling to 4096 (4KB) as a starting baseline.
xTaskCreate(myTask, "Task1", 4096, NULL, 1, NULL);
Step 2: Stress Test & Measure the "High Water Mark"
Once the system is stable, you need to find the "High Water Mark", the absolute maximum amount of stack memory your task has used since it started. FreeRTOS provides a sophisticated tool for this: uxTaskGetStackHighWaterMark().
Insert this diagnostic code into your task’s main loop and run your system through its worst-case scenario: connect to the shakiest WiFi, send the largest possible JSON payload, and trigger every interrupt.
void myTask(void * parameter) {
  for(;;) {
    // ... Your high-stakes logic (JSON, WiFi, calculations) ...

    // Measure the remaining free space on the stack:
    UBaseType_t unusedStack = uxTaskGetStackHighWaterMark(NULL);
    Serial.printf("[DEBUG] Unused Stack Space: %d bytes\n", (int)unusedStack);

    vTaskDelay(pdMS_TO_TICKS(1000));
  }
}
Note: uxTaskGetStackHighWaterMark returns the minimum amount of free space that was available. If this number ever hits 0, you have overflowed.
Step 3: Optimize with a Safety Buffer
SRAM on the ESP32 is a finite, precious resource. You cannot leave every task at 16KB just to be safe. Once you know your peak usage, optimize.
If you allocated 8192 bytes and the "High Water Mark" shows 5000 bytes unused, it means your task actually used 3192 bytes. The Professional Formula: Actual Usage + 512-byte safety buffer = Optimized Stack Size.
In this case, you would set your final task size to 3704 or a clean 4096.

Why a PCB Design Consultant Cares About Firmware
You might wonder why a company focused on hardware engineering services and pcb layout is so obsessed with stack sizes. The answer is simple: Product Integrity.
A hardware failure and a firmware crash look identical to an end-user. They both result in a "dead" product. If we deliver a flawlessly engineered PCB with controlled impedance traces and optimized power delivery, but the firmware we integrate is unstable due to memory mismanagement, the project is a failure.
At Circuit Board Design, we provide full-stack hardware development. We understand that the physical world of electronics and the logical world of bits are inseparable. When we perform a DFM/DFT review, we aren't just looking at solder mask clearances; we are looking at the overall reliability of the system. High-reliability industries like medical devices and industrial automation cannot tolerate "random reboots."
Pro-Tips: Keeping Your Stack Clean
Beyond just increasing the stack size, seasoned engineers use specific architectural patterns to keep their memory usage predictable.
Use the Heap for Big Buffers: If you need a 2KB buffer to build a string, do not declare it as a local variable (e.g.,
char buf[2048];). This places the entire burden on the stack. Instead, usemalloc()ornewto put it on the heap, use it, and then immediatelyfree()it.Switch to snprintf(): Never use
sprintf. It is a security and stability nightmare. Always usesnprintf(), which requires you to specify the maximum buffer size. It prevents a buffer overflow from becoming a catastrophic system failure.Static Allocation: For mission-critical tasks where you cannot afford a runtime allocation failure, use
xTaskCreateStatic. This ensures that the memory for the stack is reserved at compile-time, preventing "out of memory" errors during operation.
Conclusion: From Chaos to Confidence
The transition from a prototype that "sometimes works" to a commercial product that "never fails" is a rite of passage for every hardware engineer. The 2048-byte trap is a common psychological reflex, we assume the defaults are safe. They aren't.
By measuring your memory usage with the precision of a metallurgical analysis, you bridge the gap between theoretical design and the harsh physical reality of embedded systems. You move from the dread of a "Core Panic" to the seamless confidence of a high-pass production yield.
If your team is struggling to bridge the gap between a custom PCB and reliable firmware, contact us today. Whether you need a second set of eyes for an IPC-certified DFM review or a complete hardware engineering partner, we ensure your designs don't just look good on a screen, they thrive in the field.
Technical FAQ: ESP32 Stack and Memory Management
Q: Does each core on the ESP32 have its own stack? A: No. Tasks are assigned to cores, but the memory for their stacks comes from the global internal SRAM. However, FreeRTOS manages task switching independently on each core.
Q: What is a "Stack Canary"? A: It is a specific data pattern placed at the very end of the stack. If the task tries to write past its limit, it will overwrite the canary. The OS checks this pattern during every context switch and triggers a reboot if it’s corrupted.
Q: Can I put the stack in External PSRAM? A: Yes, but it is significantly slower and requires specific configuration in the ESP-IDF menuconfig (CONFIG_SPIRAM_ALLOW_STACK_EXTERNAL_MEMORY). For high-speed tasks, always keep the stack in internal SRAM.
Q: Why does my ESP32 crash only when I connect to WiFi? A: The WiFi stack is incredibly memory-intensive. When the WiFi task starts, it consumes a large chunk of shared RAM and triggers its own internal interrupts. If your existing tasks are already near their stack limits, the added pressure of the WiFi stack's background operations is often the tipping point.